Related Links
Configure Cloud Storage in BackupExec
Veritas assists in managing huge volumes of data that's critical to small, medium or large sized companies. The integration of IDrive® e2 and Veritas helps protect the data, improve end-to-end performance and extend scalability of the enterprise data management.
Note: To initiate cloud storage configuration, the BackupExec environment must be updated to version 22 or later.
To configure cloud storage,
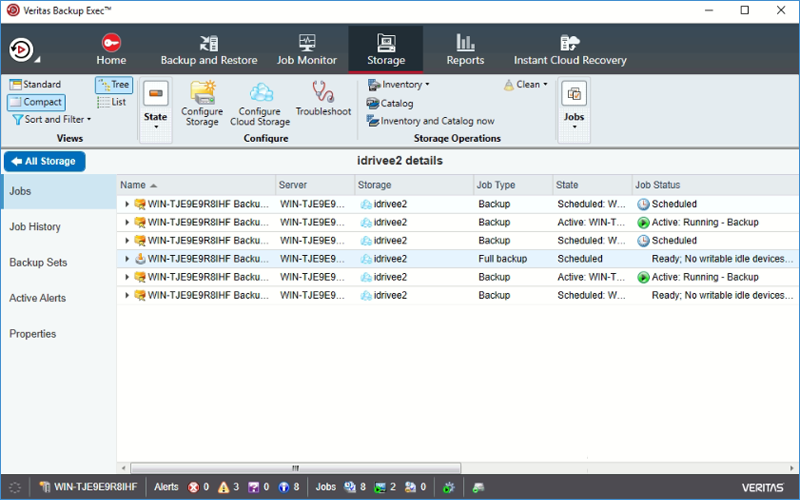
- From the BackupExec console click Storage then select Configure Cloud Storage.
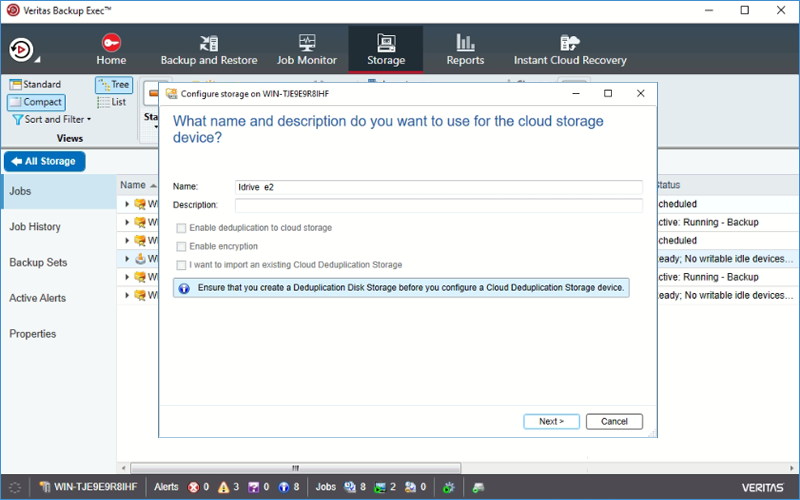
- Provide name and description for the cloud storage and click Next.
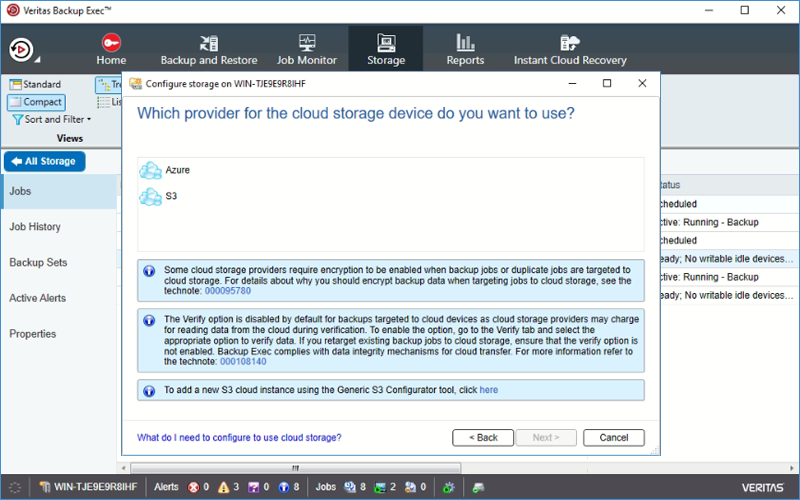
- Select S3 and click the information box to configure the cloud storage provider.
- In the configurator, configure as below:
- Select Create Cloud Instance Radio Button
- Service Host: Endpoint address of the Access key you created previously
- SSL mode:Full
- URL Style: Path
- Provider: compatible-with-s3
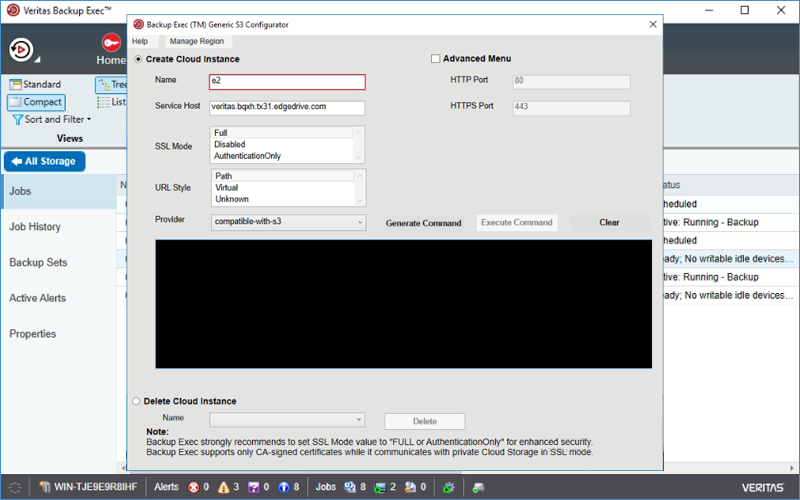
- Select Generate to generate the command to define the compatible cloud object storage provider.
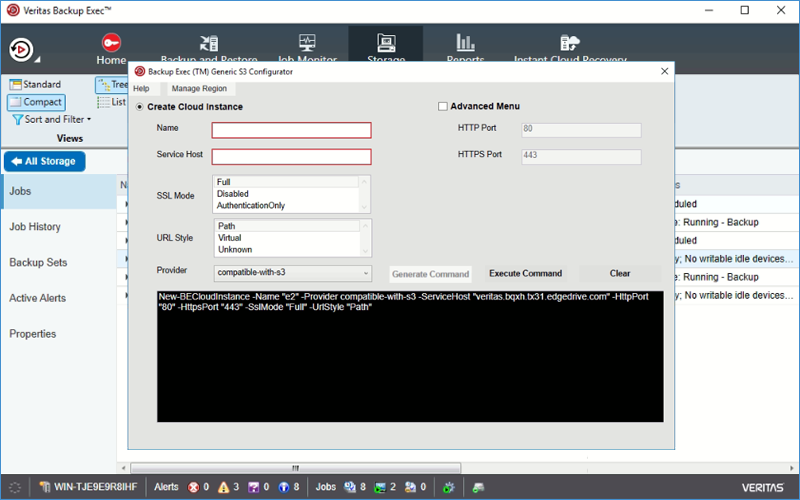
- Click the Execute Command to create the compatible cloud object storage provider.
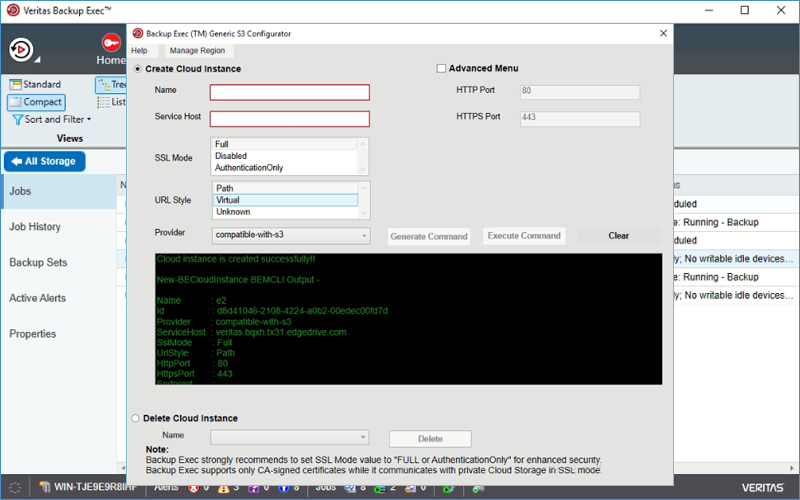
- In the Cloud Storage Configuration wizard click Next.
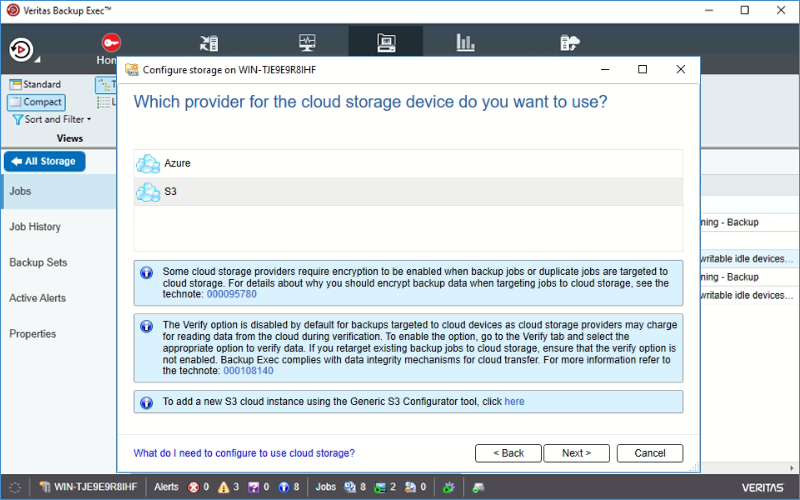
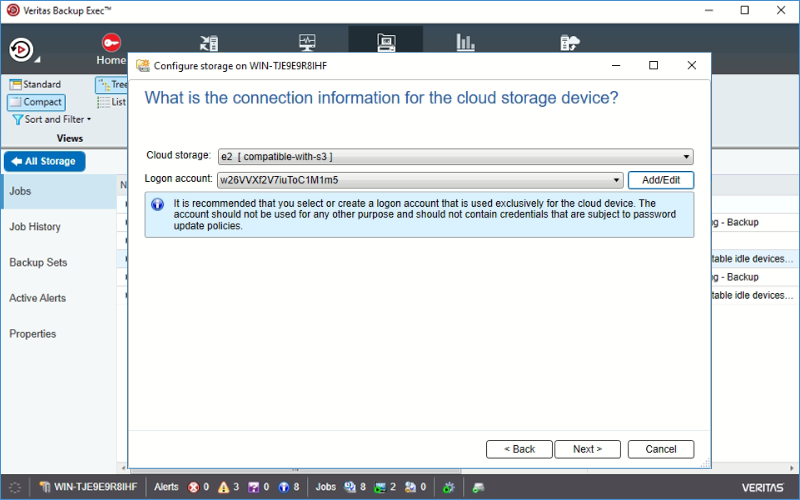
- Choose the Cloud Storage Provider that you just defined and click Add/Edit.
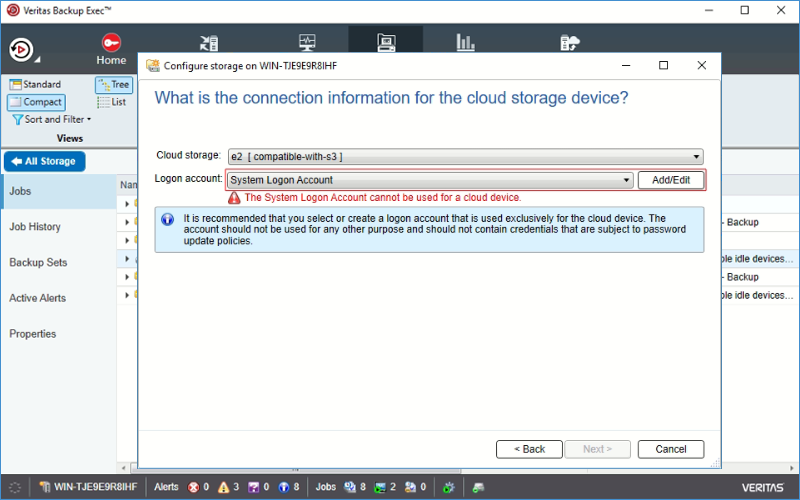
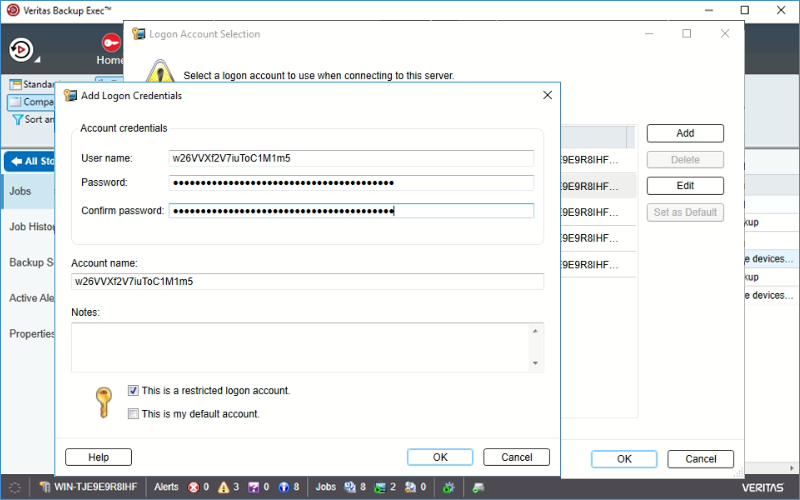
- Click Add to enter a new login account.
- Enter username(Access Key ID) & Password (Secret Access Key) and click Next. Know more about IDrive® e2 Access Keys.
- You now have both your Cloud Storage Provider selected and your Login Account selected, click Next.
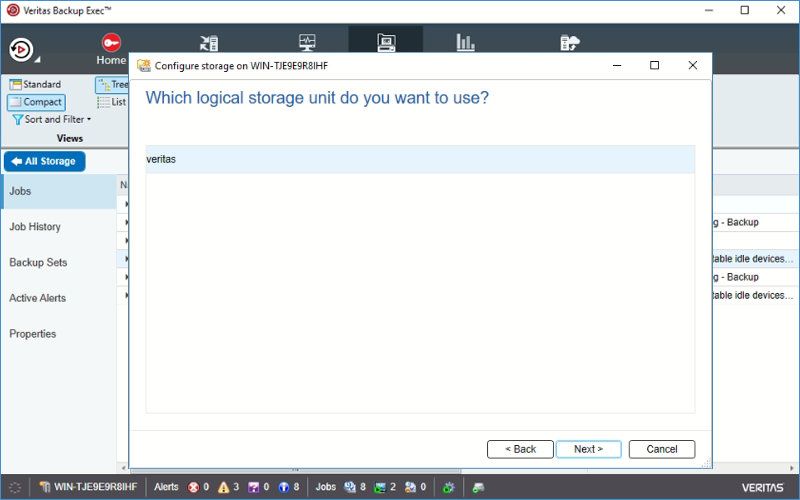
- Choose the bucket you created earlier for your backup target, then click Next.
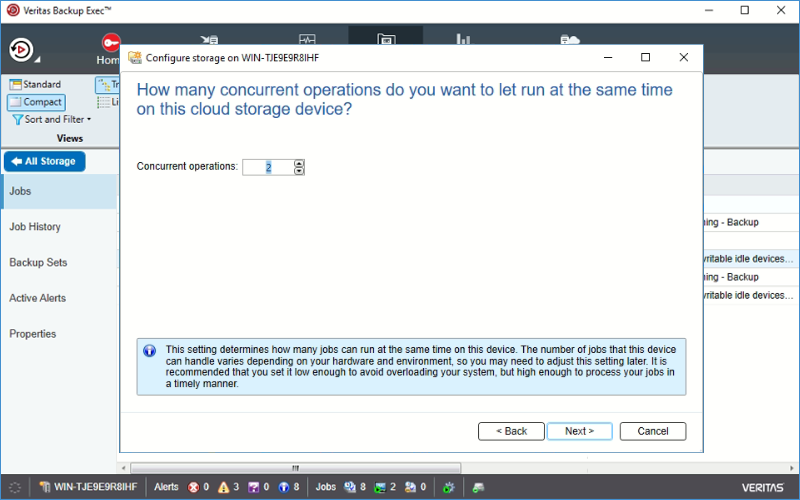
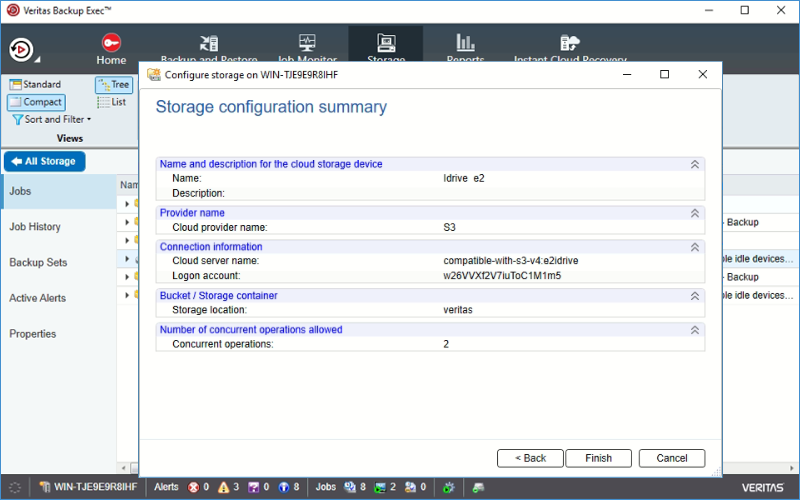
- You can adjust the number of concurrent operations. The default is 2 but this can be increased to potentially improve performance. See info note at bottom of the box.
- Summary of your Cloud Storage Configuration. Select Finish & restart backup exec services.
Note: Data restoration is handled by your specific backup solution provider and is affected by multiple variables that are unique to your environment. For application-related enquiries/support, it is strongly recommended you seek guidance from the technical team of your backup solution provider.